Spruce Up The Kitchen
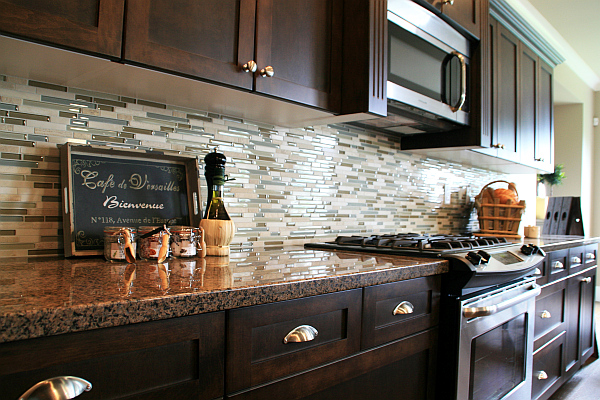
Tiling a backsplash in your kitchen is one of a few easy ways of refreshing and upgrading an old, dreary kitchen on a shoestring budget. When you tile a backsplash, consider using a nice mosaic tile and give your kitchen that much-needed pizzazz. Thanks to the tiles being on 12×12-inch sheets, you can do your own installation. It becomes a one-day installation and the second day you grout it. Professional installers will charge you as much as they can.
Article Sponsored by Parking Lot Striping Orlando
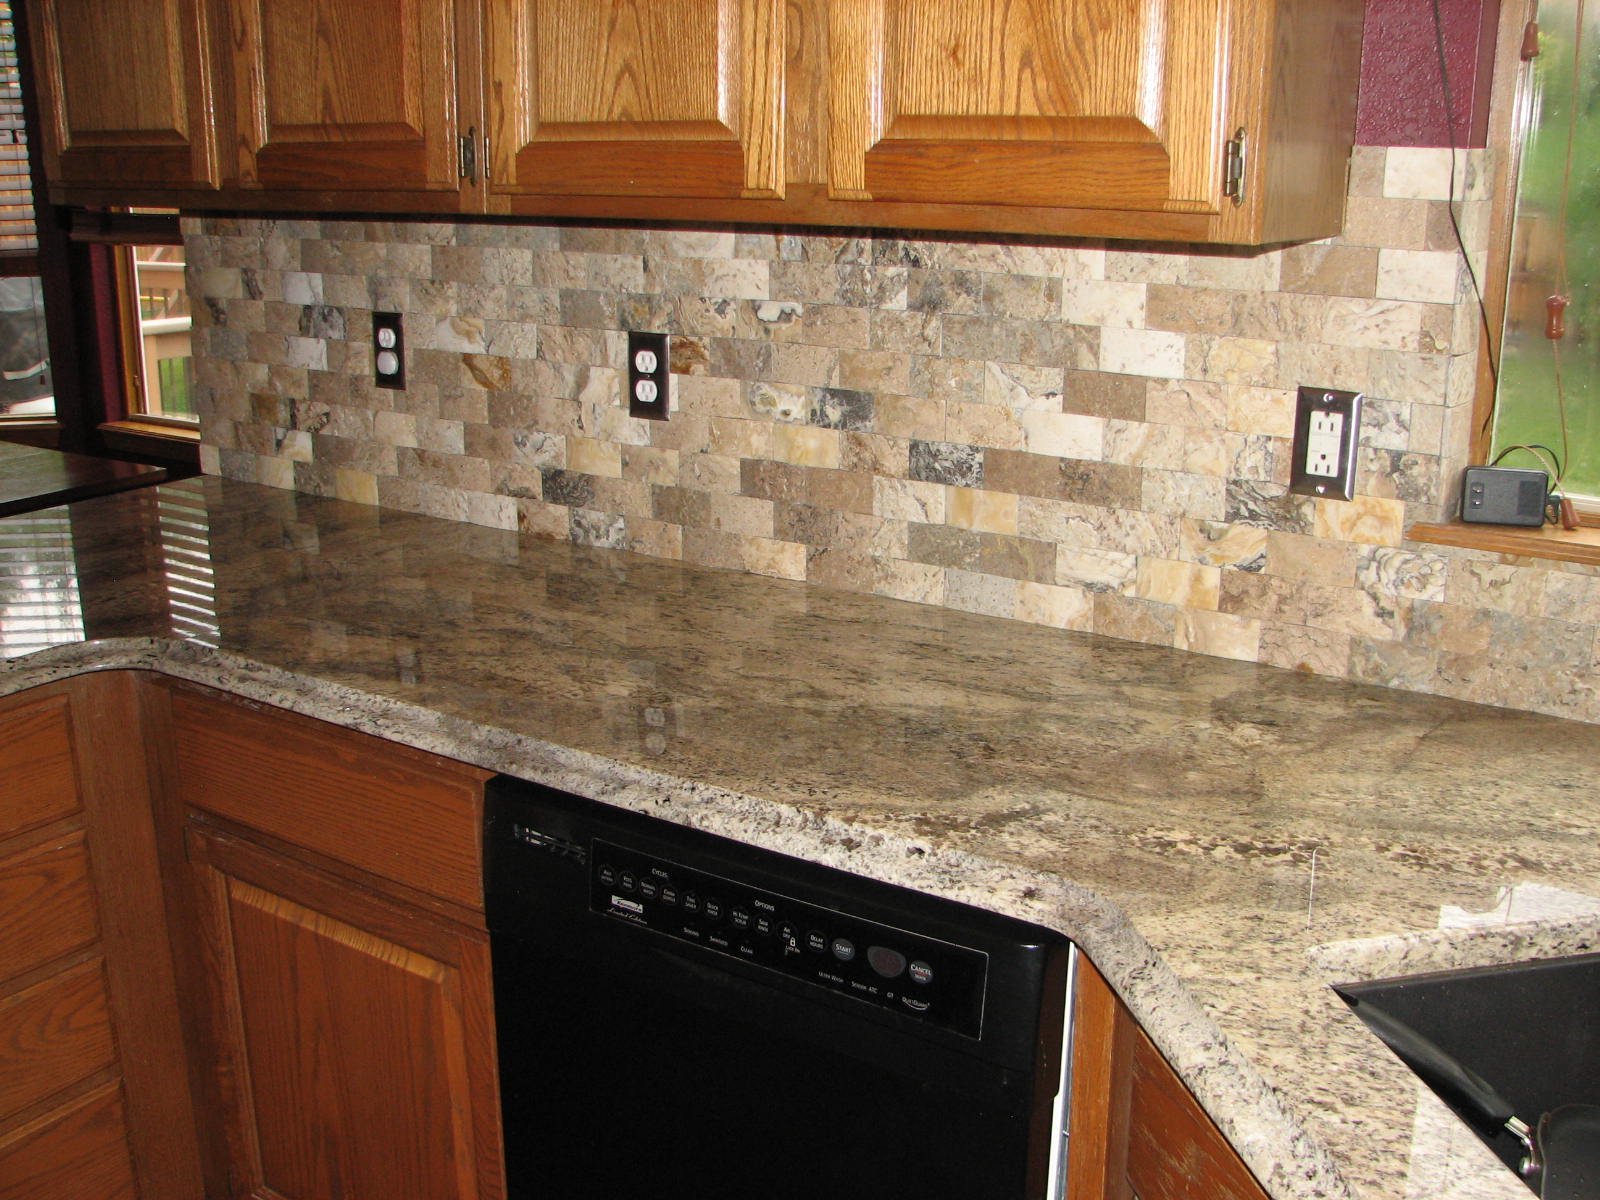
On average they make you pay $20 per square foot, so for each foot you install yourself, so you will save $20 every sheet you install yourself. The sheets cost on average between $8 and can get as high as $20 at hardware at home stores. If you want to save money, you can find a nice less expensive tile, which will still make your kitchen look great. Installation is simple, all you need are the proper tile tools, trowel, grout float, grout, grout sealer and adhesive.
If you don’t have a wet saw, you can rent one at a local mega hardware store chain. A rental may cost $50 for the entire day. Even if you are not a professional in tile work, it’s a very simple process to tile a backsplash.
Step 1
Before you begin the overhaul, make sure you are working with a clean wall. Be sure to thoroughly clean up any stained spots on the wall. Then begin to mark out countertop and cupboards that will have tile installed around them. Cover the counters with anything like newspaper or cloth.Check the power is off to the outlets that are in your workspace. You also need to extenders in each of the outlet boxes. According to the National Electrical Code, extenders are required when outlet boxes are greater than 1/4 inch behind the wall surface. The best place to start installation is the section between the range and hood.
Step 2
When you have finished all the prepping, you can begin spreading some of the mastics on the wall and spread it around in broad strokes with your 3/16-inch trowel. You want to make sure it is spreading thin. Always make sure to have some water and a sponge nearby while you work, to keep the mastic from hardening on the trowel, while your working. Position the first tile sheet in the area near your hood. If the tile sheet moves or the mastic seeps through the joints, remove the tile, scrape off the adhesive and then redo it.You want to have a 1/16-inch join between each group of tiles. The tile sheets are not square, so it may be necessary to move the tiles around to keep them squared up.
Step 3
As you continue to set up the tile sheets. It may be needed to slice the tile sheets to fit around certain areas including cabinets and outlets. You will need to trim the tile sheets using a wet saw. When the tile is all set, let it rest for 30 minutes and then spread on the sealer with a sponge.
Step 4
To finish the project, you will need to wait 24 hours before you can add grout. There are a variety of groups you can use, a premium grout is best since this area will often be splattered by food prep. When you are ready for the grout, mix it with water until you make a mashed potato consistency mix. Spread the grout into joints using a grout float. Move the float in a diagonal direction. Scrape off any extra grout with your tool, once all the joints have been filed. Wait ten minutes and then wipe the grout off the tile surface with a wet sponge. Repeat until the tiles are clean. Once you have cleaned everything off, you are ready to use your new backsplash.
We hope you have enjoyed this article, and have learned how to tile your backsplash. We would love to hear from you, so please contact us with any comments or questions. We also ask that you visit our sponsor: https://www.parkinglotstripingorlando.com/