Project: Painting The Bedroom
Painting a bedroom is a great way to transform and update the entire room. If you have never painted a room it can seem to be somewhat complicated at first, though it is a fun thing to do. You could always hire a painter, but depending on your budget that may not be an option and let’s face it, you would not get to have any of the fun. I know that I am not experienced painting, but with a couple of google searches, I was able to find some great ideas, and figure out all the supplies I needed before making a trip to buy the supplies.
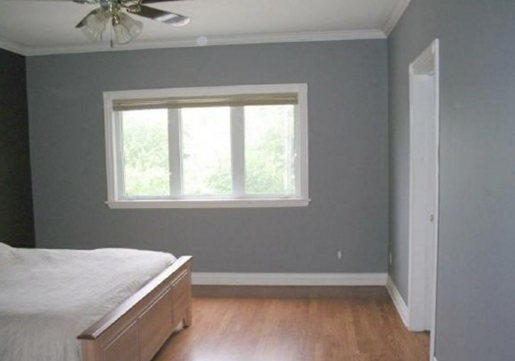
The first thing that I had to make a decision about was the color of the paint. The previous color was pure white, so I decided to make some changes by choosing dark gray with white trim accents. I wanted the room to look classy, yet inviting and based on the searches I had done on the internet it seemed this was an “in” color scheme to go with for any room in you home.
Once I was feeling sure about the color for the room, I made a list of all the equipment that I need to paint my bedroom. Let me tell you, once I put pen to paper, I realized I needed a few more things than I had originally thought.
Here are the things I put on my list:
- Paint (yeah that is obvious, make sure you measure your room so you know how much to buy)
- Roller (be sure to get the roller frame and several refills)
- Roller tray and liners
- Angled brush (don’t buy the cheapest one, or you will be able to see the brush strokes)
- Shur-Line Paint Edger (this thing is a God send, trust me you want this)
- Painters Tape
- Drop Cloth
- Ladder
Prepping The Room
S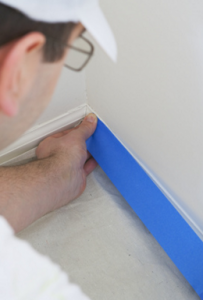 o start off by taking the time to remove everything in the room. It may sound like a chore, but trust me if you don’t, you will get paint on things that you do not intend to….yes even if you try to cover it up, you will have an accident (speaking from experience here). So take the 20 minutes and move everything out.
Next put down the drop cloth and secure it with tape, to the floor if possible. If you have carpeting secure it to the baseboards of the wall.
Next tape off the baseboards, ceiling, door trim, window sill, and anything else that you do not want to be painted gray. Take your time with this step, and make sure your taping lines are straight as can be. If they are not straight it will be very obvious once you are completed with the job.
You are now ready to let the painting begin
I think the way to begin painting is a personal preference, and similar to coloring a picture when you were a kid. Do you first color the picture, and then outline it in black? Or do you outline it in black first and then color in the picture? Another analogy, would be similar to mowing the lawn. Do you first weedeat the perimeter and then mow, or do you mow first and then tidy up with the trimmer? Everyone had their preference and there is no real right or wrong answer.
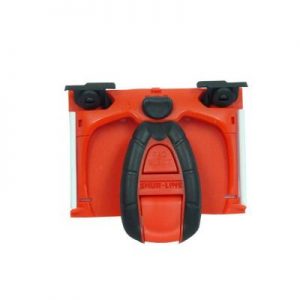 For me, I like to use the Shur-line paint edger first…..so as you can see, I am the guy that outlines first, and also weed eats first as well. lol. So use this edger to go around the door-frame, the window sill, the top of the wall (where the wall meets the ceiling), and also around the baseboards. If you buy this tool you will love it! It makes painting near the ceiling and the trim so easy.
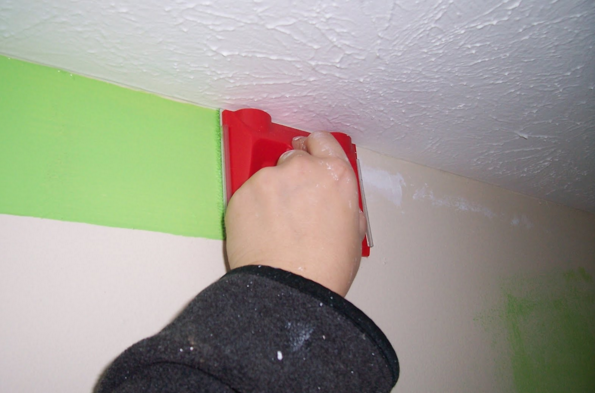
Be very careful to not get paint on the edger other than on the painting pad, or you will make a mess. But if you keep the paint only on the pad this tool will make your room look perfect like a professional painted it.
I forgot to take pictures of me using this tool, but here is one I found on the internet, and you can see how easily and smoothly it paints in those hard to reach places. I used gray paint and not green, but I wanted to show you how easy this tool is for painting.
Now that you have the room outlined in the gray, take the roller, and roll the paint on the walls. I am not going to go in detail how to do this, but simply put the paint in the rolling tray (dont forget the liner for easy clean up), get your roller covered in paint, and then roll it on the walls. Take caution as you near the ceiling, and also the baseboards. Cover the walls completely. It may take two coats depending on the color you are covering up, or the quality of the paint you purchased. Once the paint is dry, do the assessment to see if you need the second coating.
Now that you are complete with rolling, you can use the paintbrush to trim out the areas that you could not reach with the brush, or the edger. Once you are satisfied that you covered the walls completely, you can now remove the painters tape and paint the trim around the windows and doors, and also paint the baseboards
This has been my journey on how I painted the guest bedroom, and I hope it helped you in completing your next painting project as well. If you have questions feel free to contact me.